
Home / Blog / Car Repair
Polaris Ranger Lug Nut Torque: 163 N·m or 81 N·m? (Winter Tire Swap)
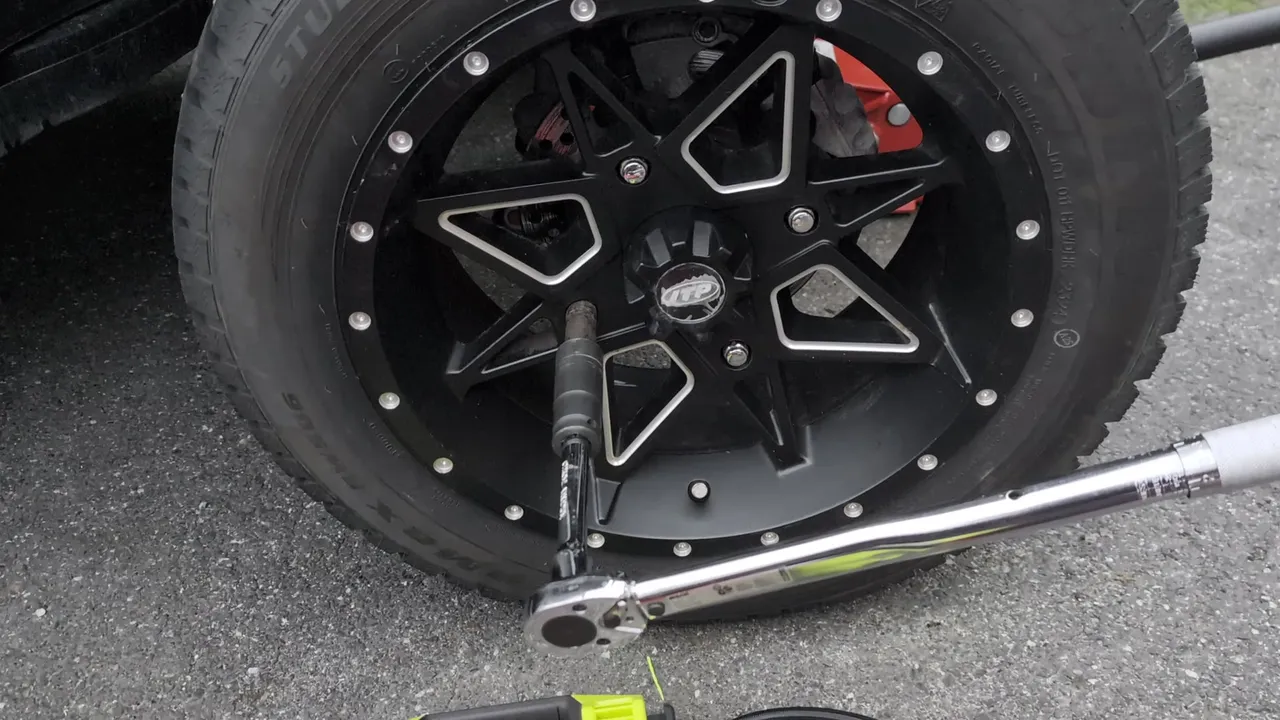
On my 2024 Polaris Ranger Diesel the lug-nut torque depends on the wheel. In the owner’s manual, the lug nut for aluminum wheels is 163 N·m (120 ft-lb), front and rear. The 2-piece flange nut for steel wheels is 81 N·m (60 ft-lb), front and rear. The two figures are far enough apart that the wrong row is not a small miss.
My wheels are aftermarket ITP aluminum wheels, so I used the aluminum row, 163 N·m. The vehicle maker’s table is the spec I followed. If the wheel maker states a different torque for that wheel, use the wheel maker’s instruction. I am not saying ITP states a number. The Polaris table is what I used, because that is the spec in the book for aluminum wheels.
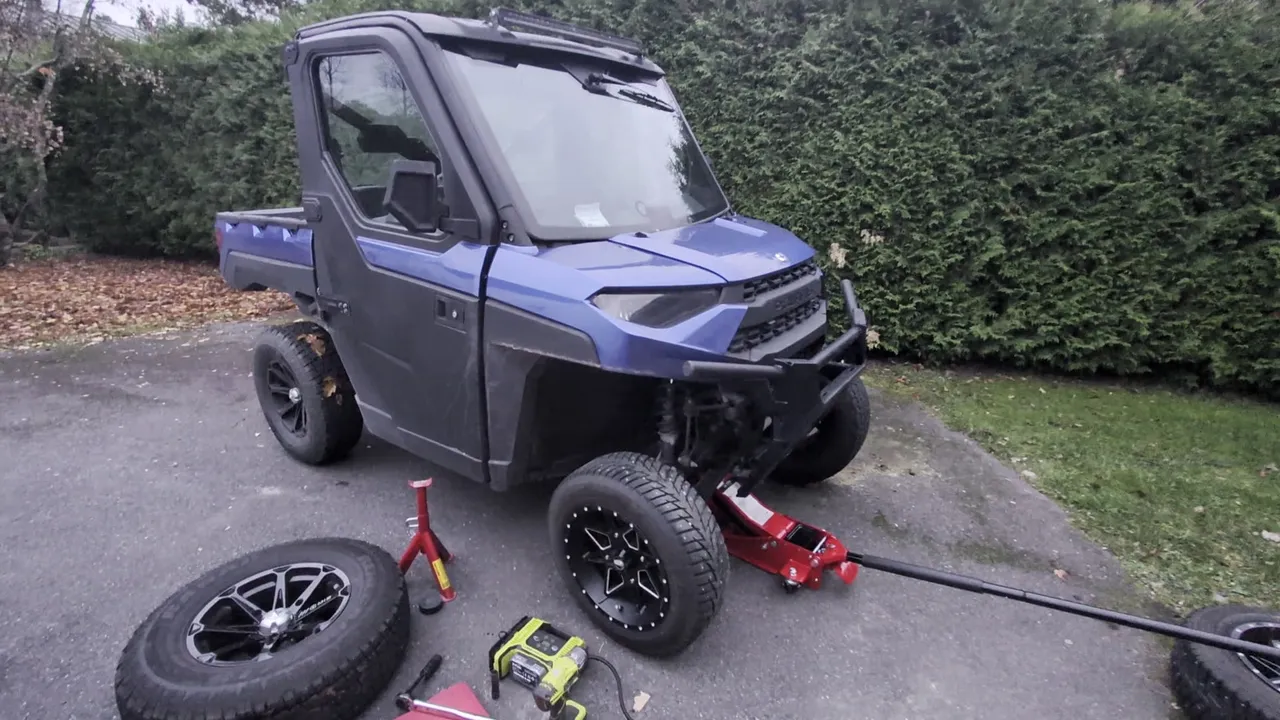
The lift that got the wheel off is the other half of this swap: Polaris Ranger jacking points.
The video is below. It goes public on 3 November 2026 at 16:30 EET.
Use your own Ranger’s table
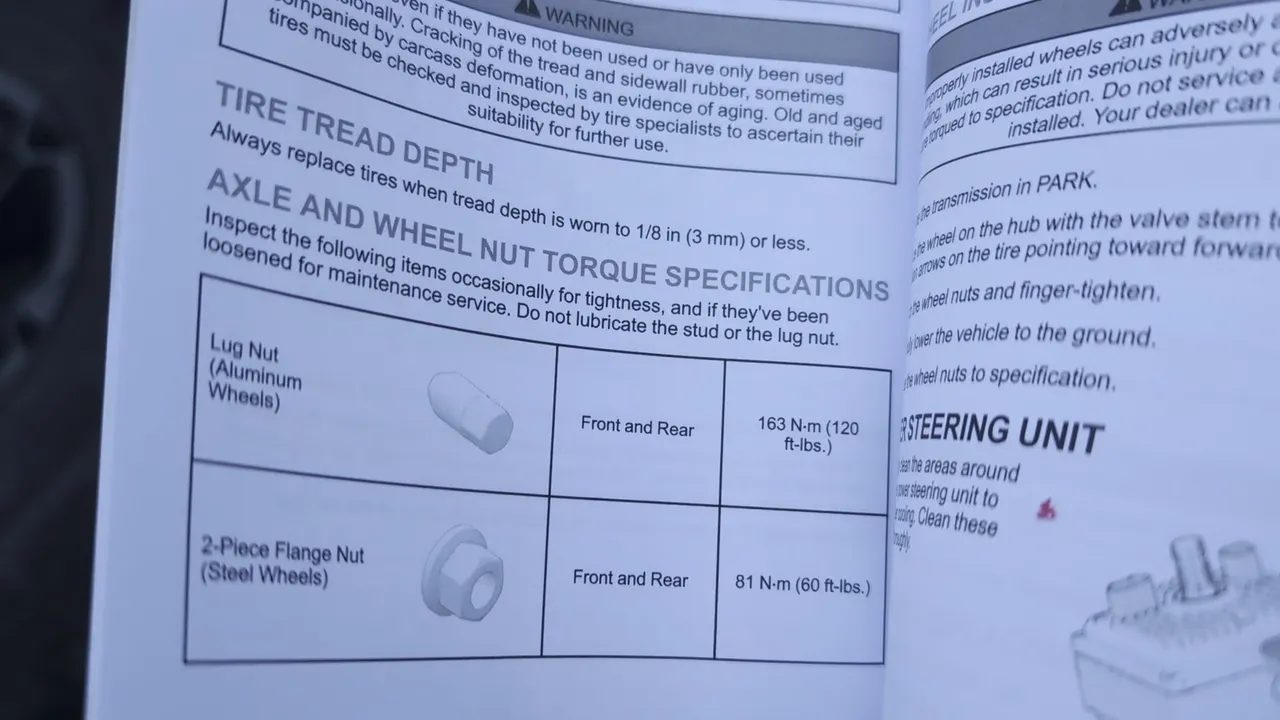
The figures below are from the Ranger Diesel owner’s manual for this 2024 model, Polaris part 9941851, on the page Axle and Wheel Nut Torque Specifications. Polaris publishes that page here: Axle and Wheel Nut Torque Specifications.
I checked two other books so I would not treat the table as universal. The 2025 Ranger 1000 manual lists the same pair, 163 N·m for aluminum and 81 N·m for the steel-wheel flange nut. The 2026 Ranger 500 manual does not. That book lists 140 N·m for chrome lug nuts and 120 N·m for black lug nuts. Same badge, different fasteners, different torque. If your Ranger is not this Diesel, open your manual and read the row that matches your nut.
The two rows in the manual
The table has two fasteners. Both rows say front and rear. This page does not give a separate front torque and rear torque.
| Fastener | Where | Torque |
|---|---|---|
| Lug nut, aluminum wheels | Front and rear | 163 N·m (120 ft-lb) |
| 2-piece flange nut, steel wheels | Front and rear | 81 N·m (60 ft-lb) |
The aluminum nut in the drawing is the long one. On the wheel it sits down in a recess, which is why the socket in the next section matters. The steel-wheel nut is the 2-piece flange nut, and its torque is 81 N·m against 163 N·m for aluminum. I torqued aluminum wheels on this swap. The 81 N·m figure is the other row of the same table. I did not fit a steel wheel and click a wrench on it.
Two lines on the page apply to both nuts. Do not lubricate the stud, and do not lubricate the lug nut. The printed torque is for dry threads, so I left the studs and the nuts dry.
The order on the page is specific. Mount the wheel, finger-tighten the nuts, lower the vehicle to the ground, then torque to specification. I snugged the nuts while the wheel was still in the air so it sat flat on the hub. That snug is not the final torque. The click happened after the tire was on the ground and the Ranger’s weight was on the wheel.
Aluminum, steel, and these ITP wheels
The wheel picks the row. An aluminum wheel on this Ranger takes the long lug nut and 163 N·m. A steel wheel takes the 2-piece flange nut and 81 N·m. The nuts do not look alike in the manual, and they do not feel alike in the hand. If you are holding a short flanged nut in two pieces, you are on the steel row, and 163 N·m is the wrong setting.
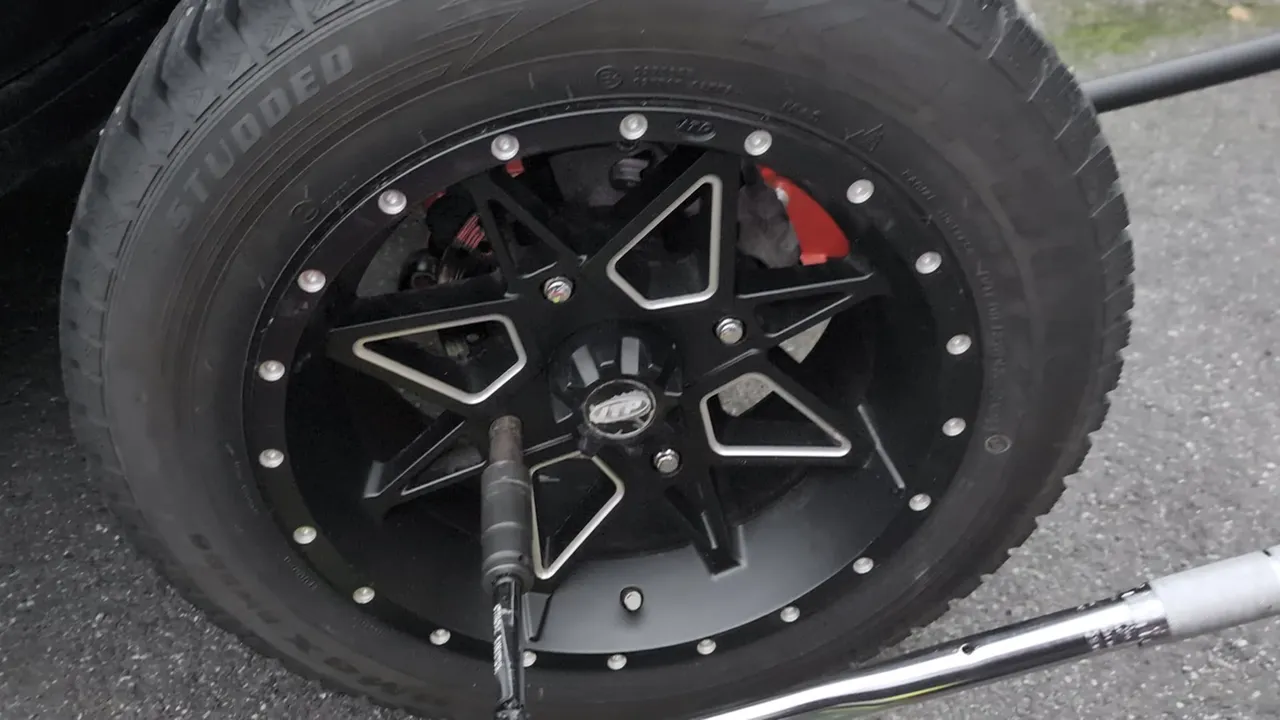
The wheels on my Ranger are aftermarket ITP aluminum, with the ITP mark in the center cap. They are aluminum wheels, so I set the wrench to the aluminum specification in the Polaris table.
Follow the vehicle maker’s spec unless the wheel maker states otherwise. I am not attributing a torque figure to ITP. If a wheel maker prints a number for the wheel you bolted on, read it before you set the wrench. With no number from the wheel maker, I used the manual’s aluminum row.
The winter tire on this set is studded. The studs do not change the lug-nut number. The nut clamps the wheel, and the tire is only why the wheels were off.
Why a normal socket does not fit
The long lug nuts sit deep in the aluminum wheel. A normal socket’s walls are too thick to enter that opening, so the socket stops on the wheel and never reaches the nut.
The socket that fits came with the Ranger. The walls are thin enough to slide into the recess. On the back of that socket is a hex, and a normal socket drives the hex. The thin socket does not have to fit the ratchet on its own.
The two ends, side by side, make the wall thickness obvious. The thin one is a sleeve that reaches the nut. The thicker one is the driver, on the hex, and it is the socket I already owned.
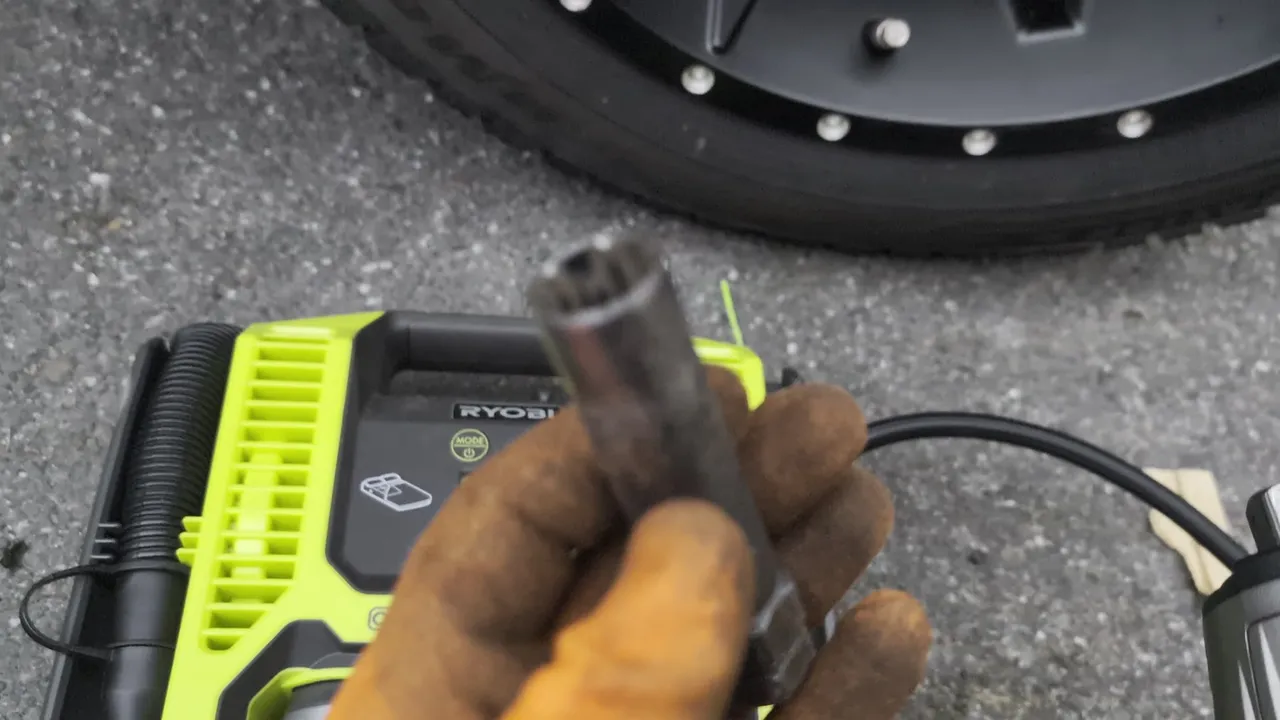
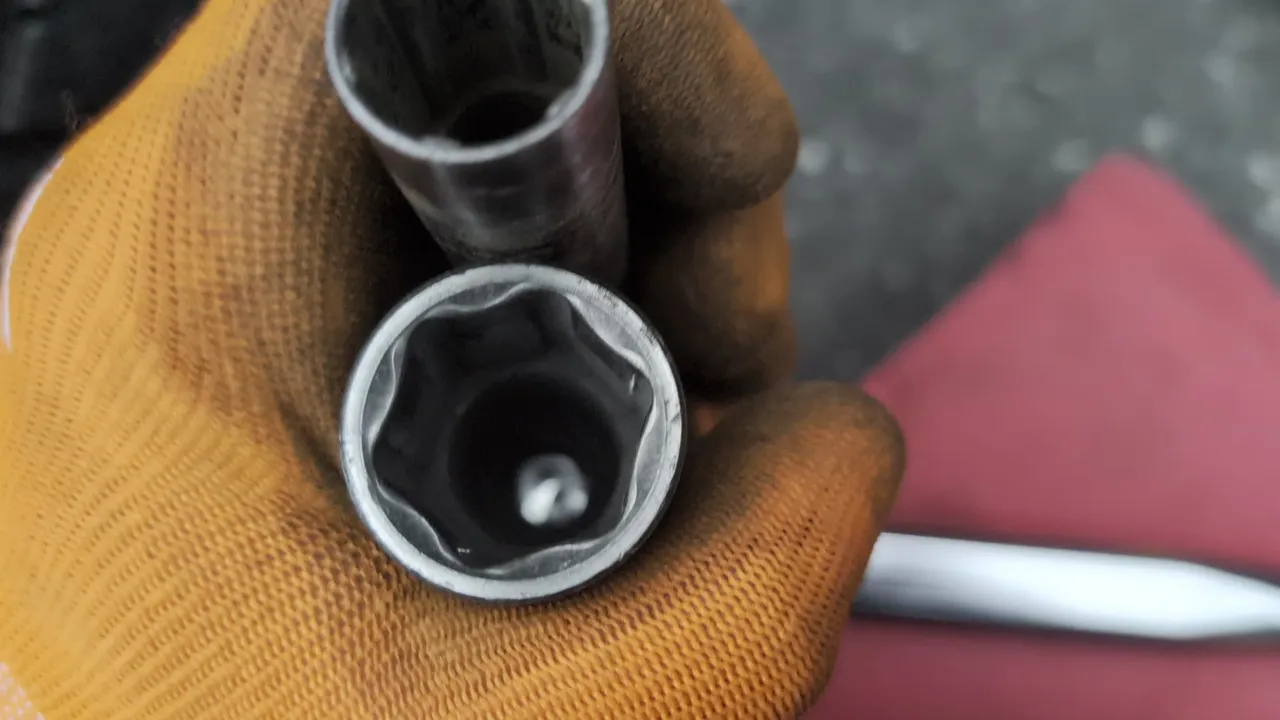
I had an impact wrench out, and I did not use it. The thin socket may not be impact-rated. The torque wrench on the hex is what tells you to stop, and the click is the stop.
How I torqued the wheel
This is the aluminum procedure I used. It follows the order in the manual. For a steel wheel with the 2-piece flange nut, the order is the same and the wrench is set to 81 N·m.
- Open the table under Maintenance, Axle and Wheel Nut Torque Specifications. Read the row for the nut in your hand, and read the line about lubrication.
- Identify the wheel. Long lug nut, aluminum wheel: 163 N·m (120 ft-lb). Two-piece flange nut, steel wheel: 81 N·m (60 ft-lb). Both are front and rear.
- Seat the thin-wall socket in the recess, and put a normal socket on the hex at the back. A normal socket’s walls will not enter the hole.
- Mount the wheel and start every nut by hand. This wheel has four. Snug them in a light criss-cross so the wheel sits flat on the hub. That snug happens before you lower the jack, and it is not the final torque.
- Leave the threads dry. Nothing on the stud, nothing on the nut.
- Lower the Ranger until the tire is on the ground and the weight is on the wheel. The manual says to torque after the vehicle is lowered. Torquing a hanging wheel loads the studs before the hub face is seated the way it will be in use.
- Set the torque wrench to 163 N·m for these aluminum wheels. A 1/2-inch wrench whose scale includes 120 ft-lb covers that setting. Set it before the first nut, and read the scale again.
- Tighten in a star across the four nuts. Pull one nut until the wrench clicks, then the nut diagonally opposite, then one of the remaining pair, then the one opposite that. Stop at the click. Another tug past the click is how a nut ends up over the figure.
- Repeat on the other wheels. The wrench stays at 163 N·m unless the wheel and the nut are the steel row.
The manual does not draw the star. It does say to finger-tighten, lower the vehicle, and then torque to specification. Crossing to the opposite nut is how I apply that final torque, so the wheel seats flat instead of cocking on one tight nut.
Safety on the nuts
The mistakes here show up later, as a loose wheel or a damaged stud.
- Support the Ranger before the wheel comes off. Park, the parking brake, chocks, and the jack stand are in the jacking points article. Final torque is a on-the-ground step, not a step done in the air and not a step done under an unsupported machine.
- Read the row that matches the nut. 163 N·m is the aluminum figure. 81 N·m is the steel-wheel flange-nut figure. They are not interchangeable.
- Keep the stud and the nut dry, as the manual says.
- Drive the thin socket by hand, through the hex, with the torque wrench. I left the impact wrench out because that socket may not be impact-rated.
- Stop at the click, in a star, on all four nuts.
- Use the book for your own model. The 2026 Ranger 500’s 140 N·m chrome and 120 N·m black figures are the reminder that “Ranger” is not one torque.
Gear for the torque
The thin-wall socket came with the Ranger. If you do not have that piece, you need a thin-wall lug socket that enters the recess on an aluminum wheel and presents a hex a normal socket can drive. The wrench below is a 1/2-inch click wrench marked 10–150 ft-lb, which includes 120 ft-lb (163 N·m). The jack and the stands are the ones from the lift.
1/2" click torque wrench (10–150 ft-lb)
Thin-wall lug nut socket set for alloy wheels
FAQ
What is the lug nut torque on a Polaris Ranger Diesel?
In the 2024 Ranger Diesel manual, part 9941851, the aluminum-wheel lug nut is 163 N·m (120 ft-lb), front and rear. The steel-wheel 2-piece flange nut is 81 N·m (60 ft-lb), front and rear. That is the Axle and Wheel Nut Torque Specifications page, and it matches the online manual.
Which figure did you use?
163 N·m. My wheels are aftermarket ITP aluminum with the long lug nuts, so they sit on the aluminum row. I follow the vehicle maker’s spec unless the wheel maker states otherwise. I am not claiming that ITP publishes 163 N·m.
Can the studs be greased?
No. The manual says not to lubricate the stud or the lug nut. The printed torque is for dry threads.
Why will a normal socket not go on the nut?
The aluminum-wheel lug nut is long and recessed. A normal socket’s walls are too thick to enter. The thin-wall socket that came with my Ranger fits, and a normal socket drives the hex on its back.
Can I use an impact wrench?
I did not. The thin socket may not be impact-rated. I turned it with the torque wrench and stopped at the click.
Do I torque the nuts in the air?
Snug them while the wheel is up, so it sits on the hub. The manual says to lower the vehicle to the ground, and only then torque to specification.
What order are the four nuts tightened in?
A star. One nut until the wrench clicks, then the nut diagonally opposite, then one of the remaining pair, then the one opposite that.
Is 163 N·m right for every Ranger?
The 2025 Ranger 1000 manual lists the same 163 N·m and 81 N·m split. The 2026 Ranger 500 manual lists 140 N·m for chrome lug nuts and 120 N·m for black lug nuts. Use the table for the Ranger in front of you.
Where are the jacking points?
On this Diesel, the front point is a frame member and the rear point is the metal frame end by the wheel. The lift, the jack height, and the stand are in Polaris Ranger jacking points.