
Starlink Mini X: Swap the Kickstand for the Pole Mount
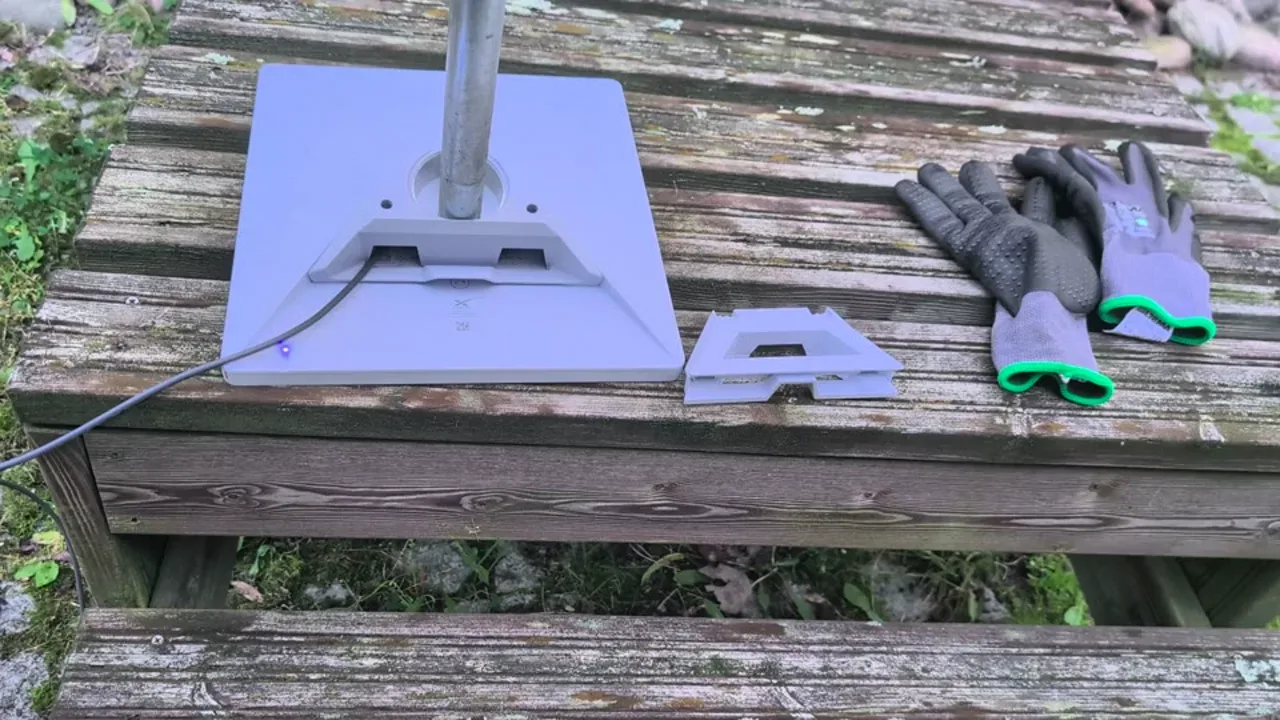
I got the Starlink Mini X set, which includes a pole mount, so this is how I take the kickstand off the Starlink Mini and put the Mini Pipe Adapter and Flat Mount on instead. I filmed it as a table-top demo outdoors in southern Finland on a short generic pipe — not a full pole install at height.
What is on camera is the official Starlink Mini Pipe Adapter from the Mini X kit. The Amazon pole mounts and car adapter linked further down are third-party equivalents. They are not the hardware in the video, and the official Mini X kit / official adapter is not on Amazon.
For other outdoor DIY around the same yard, see the Shelly Outdoor Plug S Gen3 I use for remote heaters, and the older notes on outdoor home security cameras.
What the Mini X kit includes
The official Mini X kit (as named in Starlink’s Mini X / pipe-adapter guides) is:
- Mini dish with Wi-Fi
- Kickstand
- Mini Pipe Adapter and Flat Mount
- 15 m DC cable
- Power supply
- Starlink Plug
- Router Mini (not shown in this video)
I am only covering the kickstand-to-pipe-adapter swap here. I am not publishing prices, speeds, or shop links I do not have.
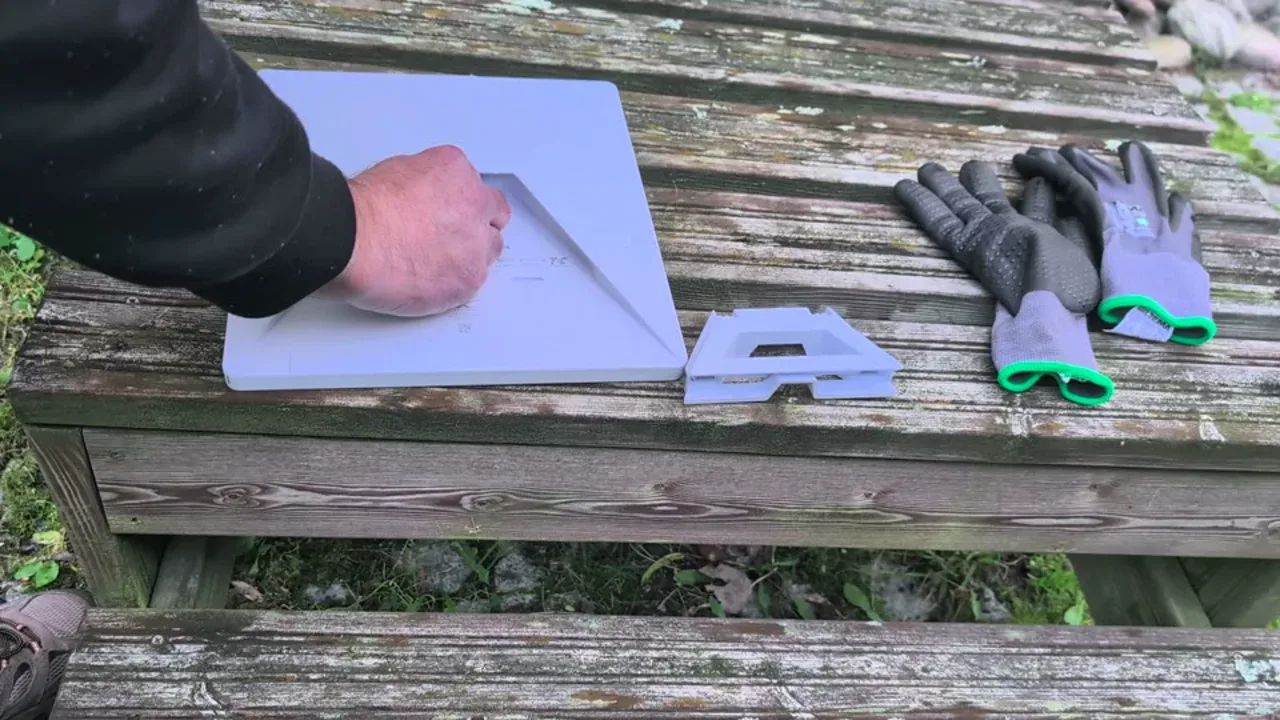
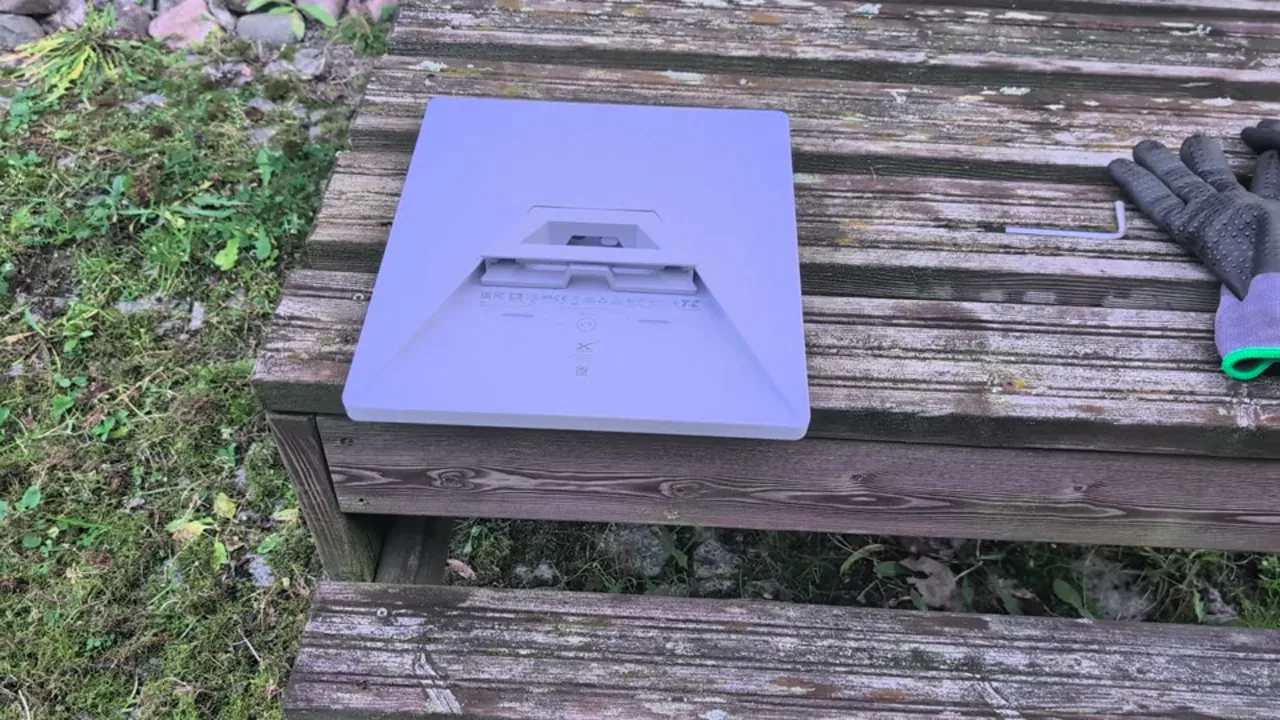
Remove the kickstand
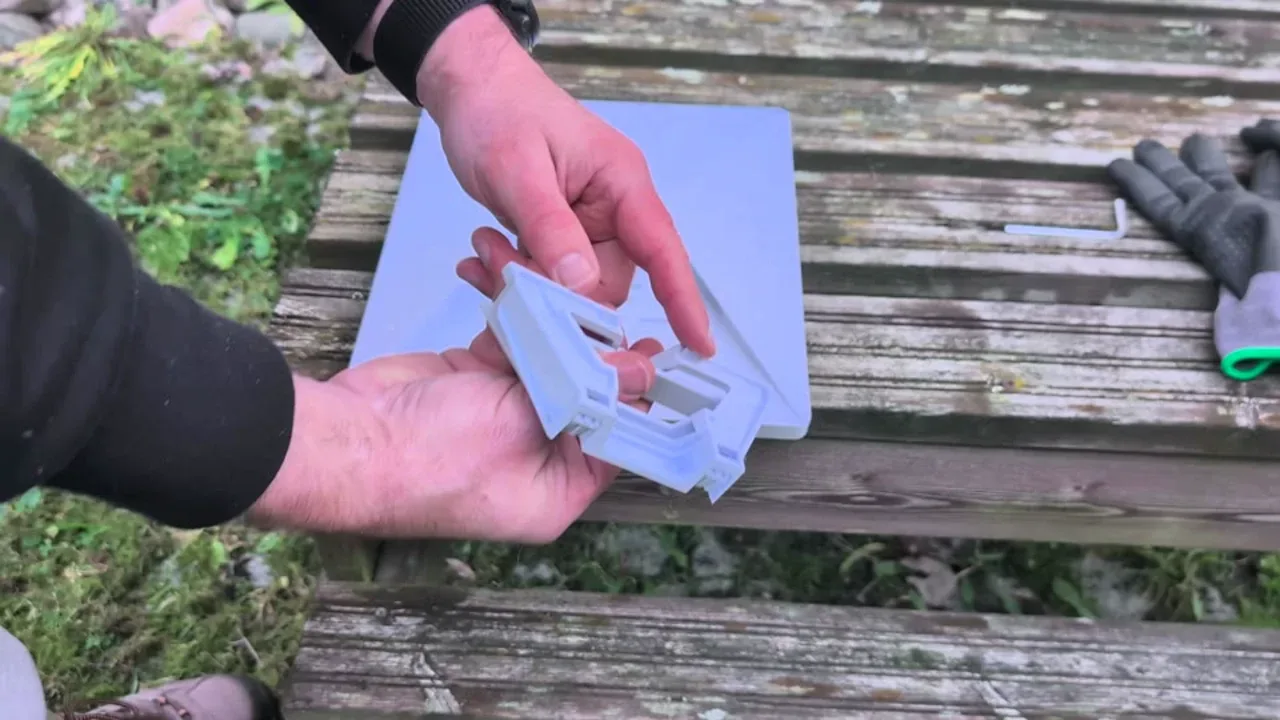
The kickstand sits in a recess on the back of the Mini. Lift the release and pull. It uses two clips. To put the kickstand back, push it in the same way until it seats.
Fit the Mini Pipe Adapter on the pipe
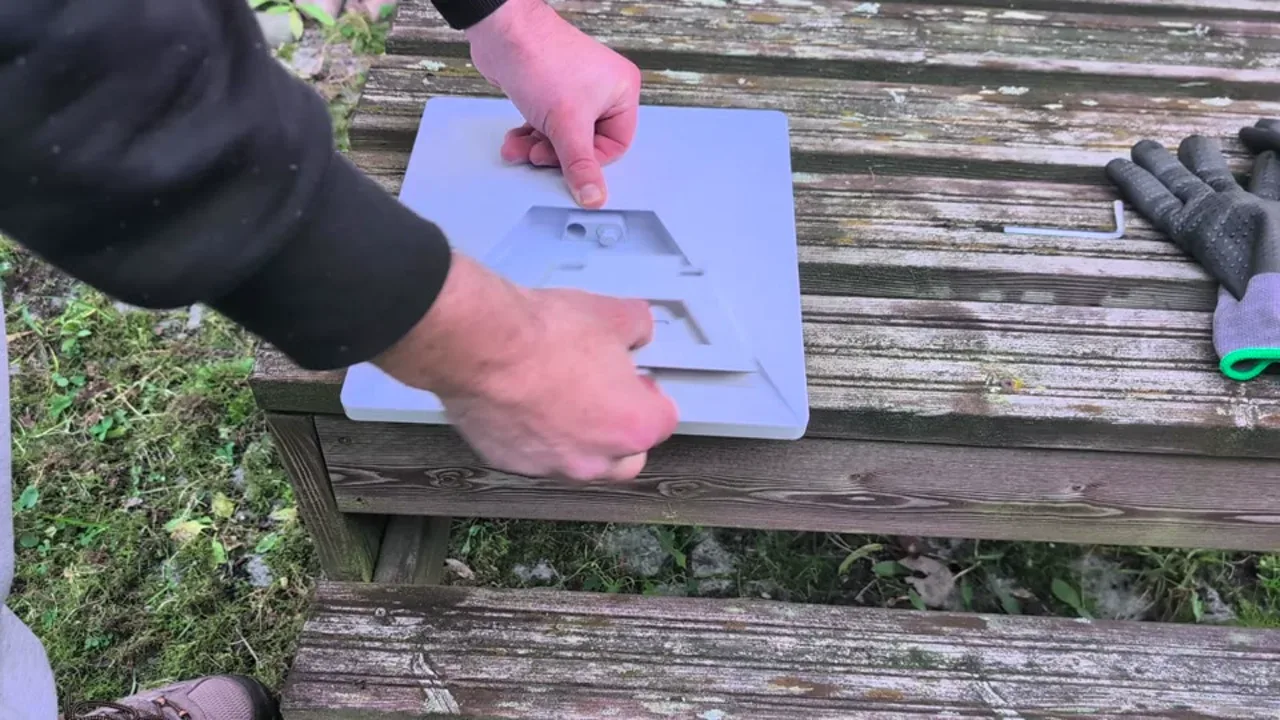
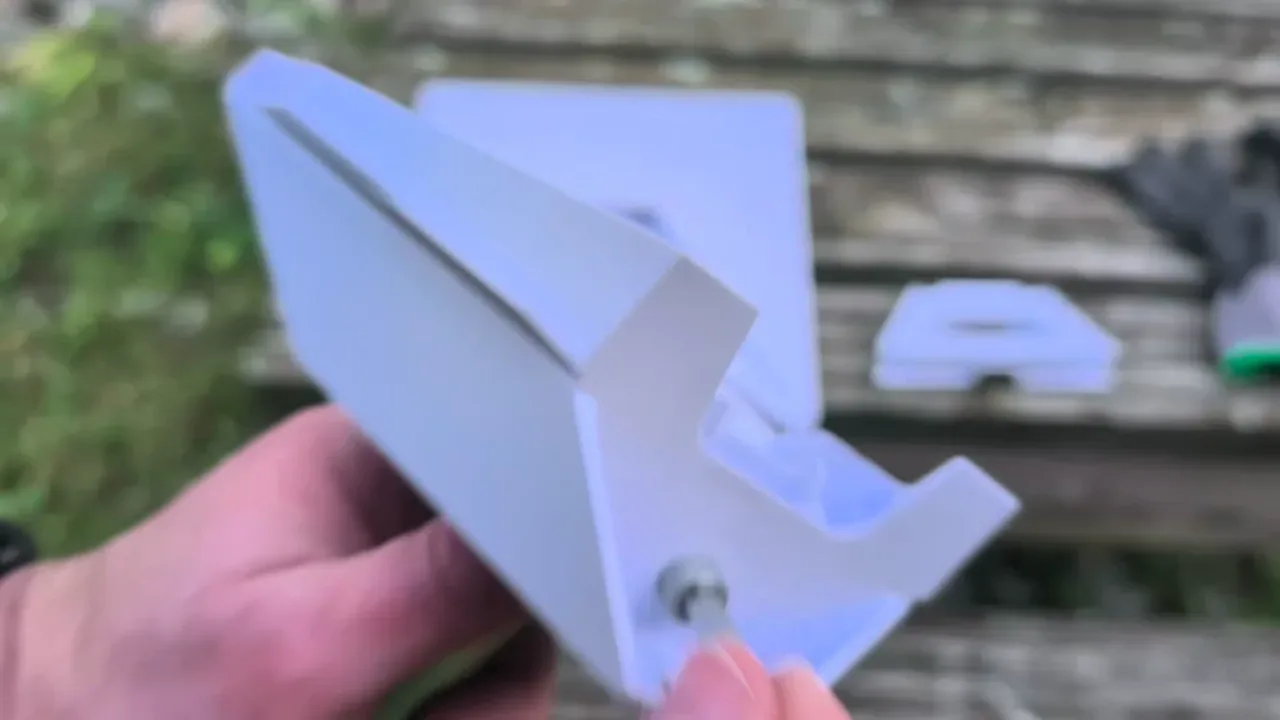
The pole mount (official name: Mini Pipe Adapter and Flat Mount) comes with an Allen / hex key so you can fit various pipe sizes. Official fit is 31–50 mm / 1.25–2 in pipe, per Starlink’s guides. Loosen the screw at the end of the clamp, slide the adapter onto the pipe, then tighten.
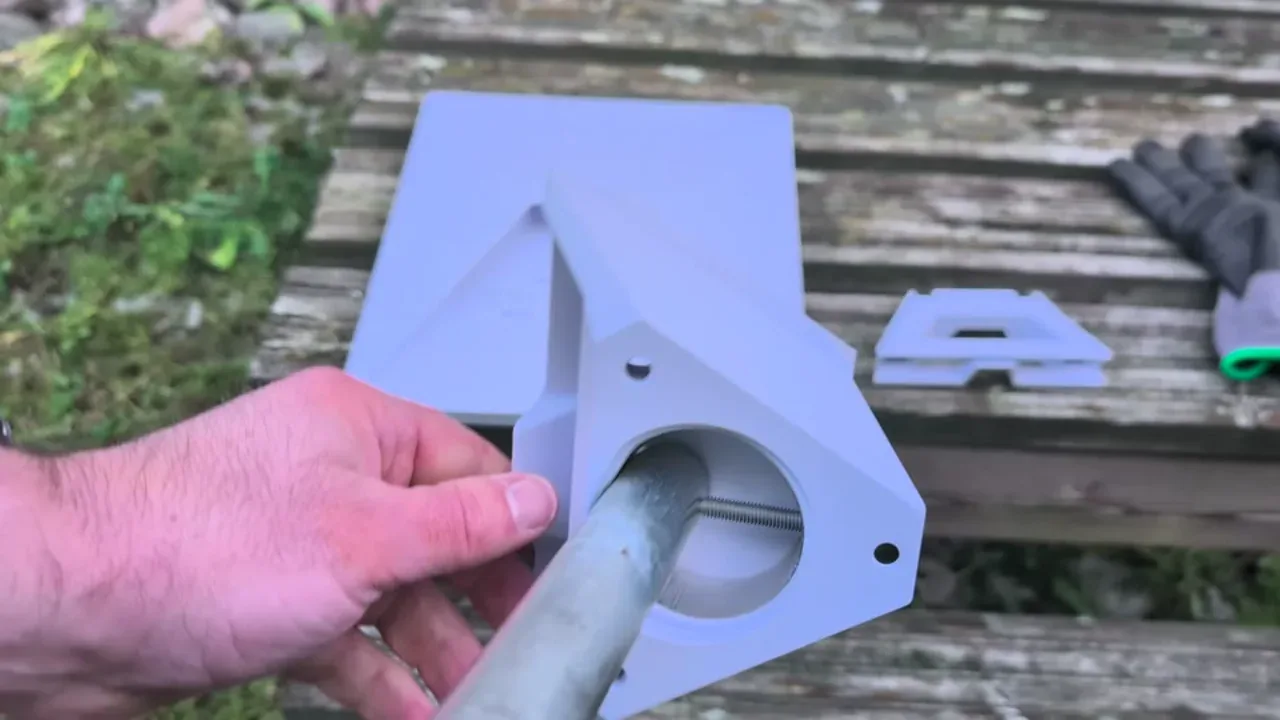
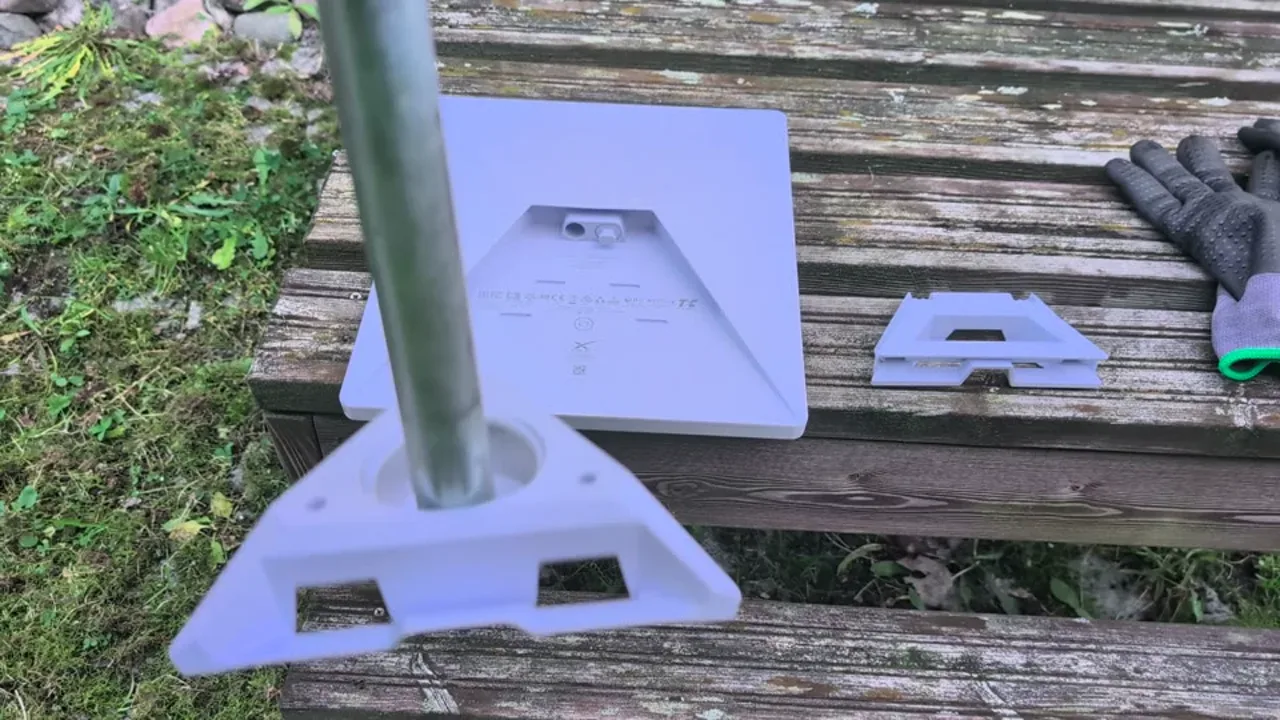
The adapter clips into the Mini in the same slot as the kickstand. Push it in until it locks. To remove it later, pull up on the release and pull out — same motion as the kickstand.
Route the power cable through the mount first
This is the step that is easy to get wrong on a table and painful on a pole: put the power cable through the mount before you finish seating everything. If you skip that, routing the cable afterwards is hard.
Push the plug into the Mini deep enough that it sits flush, so water stays out. Then slide the Mini onto the mount until it clicks.
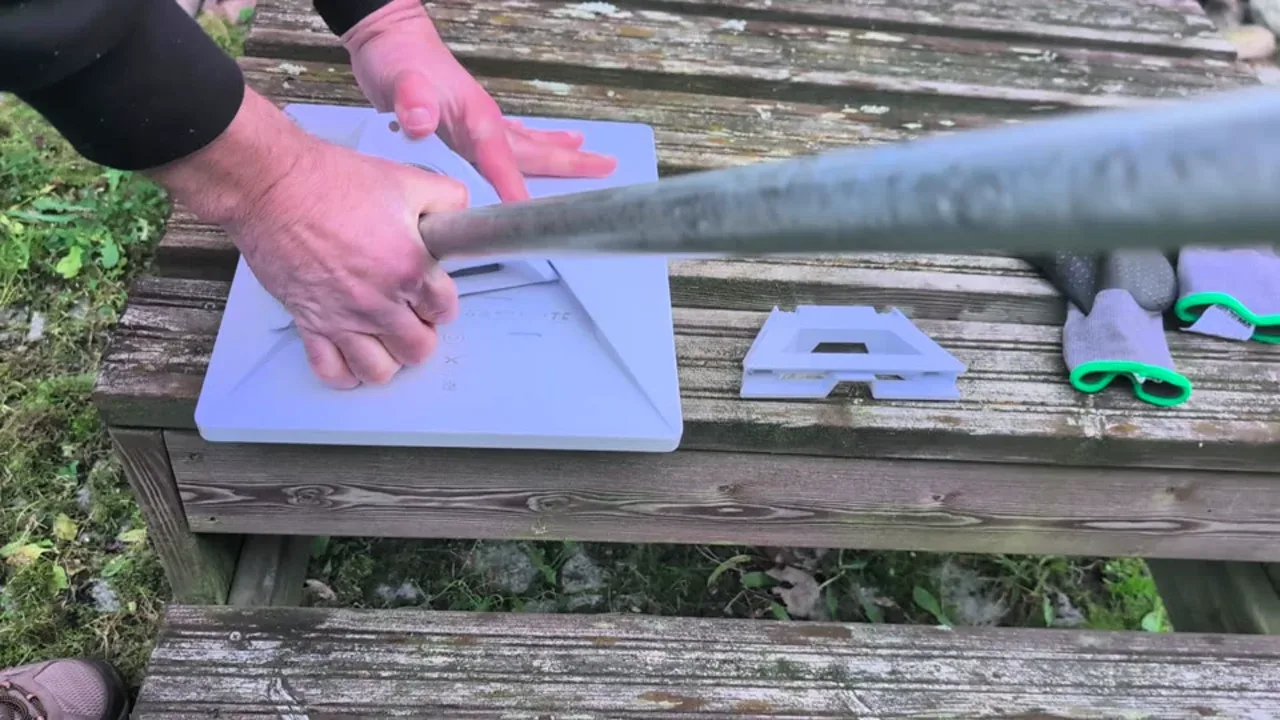
Table-top demo vs a real pole
I used a short generic pipe on a wooden table so the camera could see the clips and the cable path. On a real install you would put the adapter on the real pole first, then do the cable and the Mini there. Same sequence — pole first, cable through the mount, flush plug, click the dish on — just not on a bench.
Practical tips from this swap
- Lift the kickstand release, then pull; two clips, and it pushes back in the same way.
- Use the included Allen / hex key to loosen, slide onto the pipe, tighten. Official pipe range is 31–50 mm / 1.25–2 in.
- The pipe adapter uses the same slot as the kickstand.
- Route the DC power cable through the mount before you commit the Mini, or you will fight the cable later.
- Seat the plug flush so the connection is not open to water.
- Treat a table demo as practice: on site, mount the adapter on the pole first.
Where to buy (and what is not in the video)
Starlink sells the Mini X kit and the official Mini Pipe Adapter on its own shop. I am not inventing a shop.starlink.com URL here. The official Mini X bundle and the official adapter are not on Amazon.
The Amazon links below use tag findiligent08-20. They are useful if you want a Mini kit listing that is sold by STARLINK Official on Amazon.com, or a third-party pipe / car mount. They are not the official adapter shown on camera.
Starlink Mini Kit on Amazon (choose Sold by STARLINK Official)
HOLACA Starlink Mini Pipe Adapter (third-party)
EDUP Mini pipe + flat mount 2-in-1 (third-party)
JOYROOM Starlink Mini Car Adapter 12–24 V (third-party)
I have not fitted the HOLACA, EDUP, or JOYROOM parts myself. I am linking them as Amazon equivalents only — not as a claim that they match the official Mini X hardware in the video.
FAQ
How do you remove the Starlink Mini kickstand?
Lift the release and pull. It uses two clips. To refit it, push it back into the same recess until it seats.
Does the Mini Pipe Adapter use the same slot as the kickstand?
Yes. The official adapter clips into the same mount slot. Pull up and out to remove it again.
What pipe size does the official adapter fit?
Per Starlink’s guides for this hardware: 31–50 mm / 1.25–2 in. The mount includes an Allen / hex key for the clamp screw.
Why route the cable before clipping the Mini on?
Because once the Mini is on the mount, getting the power cable through afterwards is hard. Put the cable through first, push the plug in flush, then slide the Mini on until it clicks.
Is this the same as mounting on a real pole?
Same parts and sequence, different workplace. The video is a table-top demo on a short pipe. On a real install, put the adapter on the pole first.
Are the Amazon mounts the ones in the video?
No. The video shows the official Starlink Mini Pipe Adapter from the Mini X kit. HOLACA, EDUP, and the JOYROOM car adapter are third-party products. The official Mini X kit and official adapter are not on Amazon.
Is the Router Mini in this video?
No. The Mini X kit includes a Router Mini, but it is not shown in this clip. This write-up is only the kickstand-to-pipe-adapter swap on the Mini dish.