
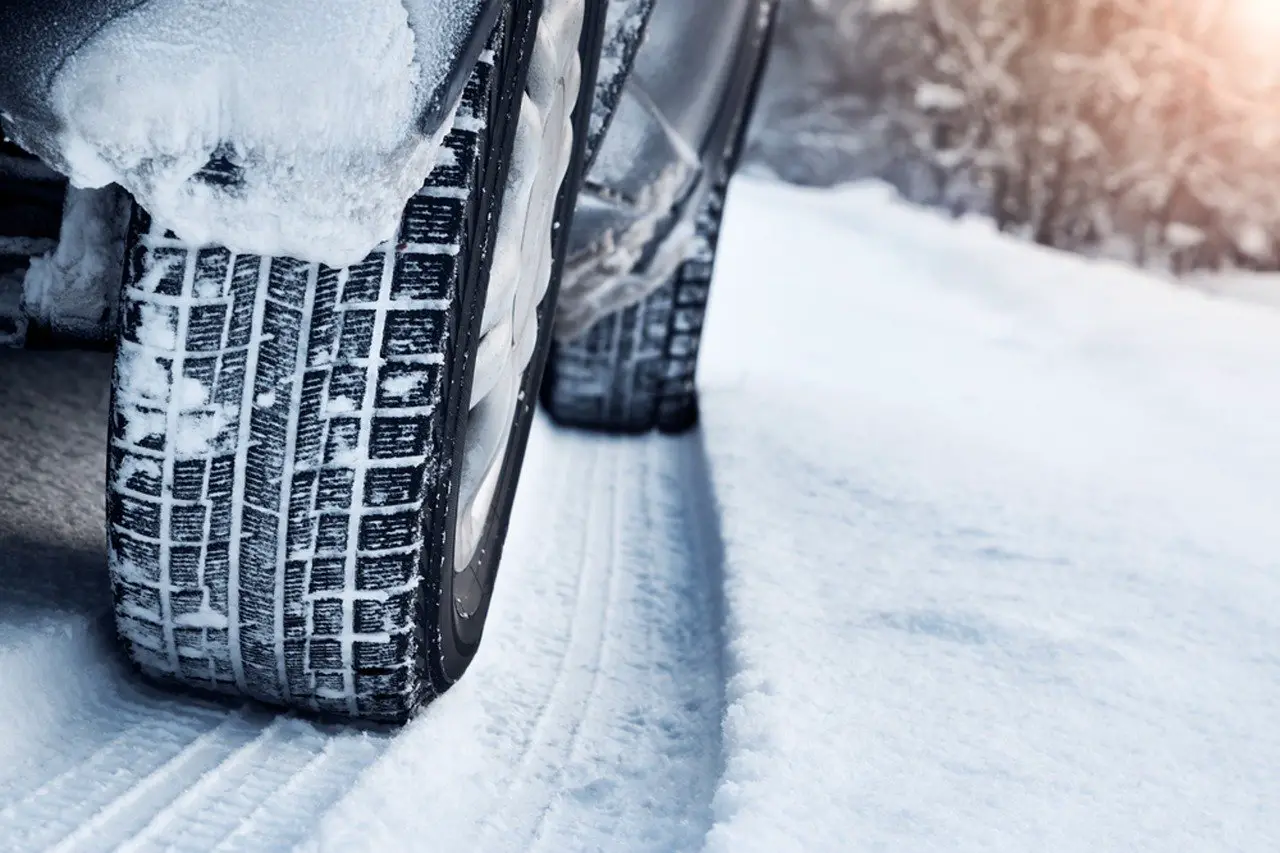
Winter tires – also called snow tires are tires which are designed for winter temperatures and conditions. They make it a lot safer to drive in winter conditions and are therefore recommended in colder climates everywhere in the world even though some countries don’t have legislation making them mandatory.
Winter Tires required by legislation
Where are winter tires mandatory? Snow tires or winter tires are mandatory during part of the year in many European countries but not in the USA. Also part of Canada and Japan have mandatory winter tires. See the below table for countries that have legislation in place requiring winter tires for certain days of the year.
The below table has a list of countries or provinces which require winter tires and also information on where studded tires are not allowed.
| Country / State / Province | Winter tires required | Studded tires allowed | Months to use winter tires |
|---|---|---|---|
| Austria | Yes | Yes | |
| Bosnia-Herzegovina | Yes | No | |
| Croatia | Yes | No | |
| Czech Republic | Yes | No | December 1 to March 31 |
| Estonia | Yes | Yes | December 1 to February 28 |
| Finland | Yes | Yes | December 1 to March 31 |
| Germany | Yes | No | |
| Latvia | Yes | Yes | December 1 to March 1 |
| Lithuania | Yes | Yes | November 1 to April 1 |
| Montenegro | Yes | No | |
| Norway | Yes | Yes | |
| Romania | Yes | No | |
| Serbia | Yes | No | |
| Slovakia | Yes | No | |
| Slovenia | Yes | No | |
| Sweden | Yes | Yes | |
| Russia | Yes | Yes | December 1 to February 28 |
| Quebec Canada | Yes | Yes | December 1 to March 15 |
| Hawaii | No | No | |
| Mississippi | No | No | |
| Puerto Rico | No | No | |
| Southern Ontario | No | No | |
| All other US states | No | Yes | |
| All other Canadian provinces | No | Yes | |
| Japan | Yes | Yes |
How to Change Tires
Changing tires is quite easy but if you are doing for the first time you can check my video below on how to do it or read the below steps with all the details.
Required tools
- floor jack
- lug wrench
- torque wrench (optional)
- drill driver with sockets (optional)
1. Place Jack in correct position
You can refer to the owners manual of your car for the correction position where to jack up the car.
Don’t jack the car up yet because the wheel will spin when loosening the lug nuts if the tire is in the air.
2. Loosen Lug Nuts
First, remove the hub cap if you have one. Second, use the lug wrench to loosen the lug nuts by rotating anti-clockwise.
3. Jack Up the Car
Jack up the car with the floor jack by pumping the handle. You want to get the wheel into the air and have some space under it to allow you to easily take the wheel off.
For security reasons, it’s best to place a jack stand or your tire under the car because the jack stand can brake, tip over or lose pressure bringing the car down.
4. Remove the Lug nuts and Take the Tire Off
Since the lug nuts have already been loosened in step 2 you can now turn them open by hand or use your drill driver with a socket to quickly remove them.
With all the lug nuts off you can lift the tire off the lug bolts and place it aside. Sometimes the tire sticks to the wheel hub due to rust. In this case, you can kick the wheel a few times to loosen it up.
This is a great opportunity to visually inspect the rotors and the brake pads. You can read more on how to do this in my article about replacing brake rotors and brake pads.
5. Lift the new Tire into Place
Now that you have removed the old tire out of the way you can lift the new tire into place over the lug bolts. It’s recommended to place the lug nuts in place by hand and slightly turn it to make sure they get properly threaded.
6. Tighten Lug Nuts
After hand tightening the first few turns of the lug nuts, you can use the power drill with the socket on it to tighten the lug nuts as far as they to with the drill driver.
If you have a torque wrench it’s recommended to use it for getting the correct torque on the lug nuts. I use a torque of 120 Nm or 90 ft/lbs for my wheels. If you don’t have a torque wrench you can use the lug wrench to tighten but just don’t over tighten by leaning into the tool too much. When using a telescoping lug wrench I usually use the long handle for loosening the lug nuts but for tightening I use the short handle to avoid over-tightening.
Use a star pattern to tighten the lug nuts so that the wheel sits flush on the hub.
7. Lower the Car Down
Lower the car down by removing the pressure from the floor jack by turning the valve on the floor jack.
8. Add Air to Your Tires
Since the winter or summer tires have been in storage for multiple months they have lost some air pressure during that time. You will need to add air to your tires to meet the recommended operating pressure.
The car owners manual and usually the driver’s side doorjamb will have a recommendation on the correct operating pressure. Don’t use the max pressure printed on the side of the tire. Quite often the recommended tire pressure marked in the door jamb is quite low. Many tire shops have recommended me to use slightly higher pressure and as a rule of thumb, you could use 2.4 bar or 35 psi as the operating pressure of your car tires.
9. Re-tighten or Re-torque lug nuts
Do lug nuts need to be re-torqued? Yes, absolutely. You need to re-tighten the lug nuts after around 100-200km or 100 miles. I know many don’t re-tighten their lug nuts after changing their tires or after there has been some work done on the car which required removing a tire. The reason why you need to do it is because when you drive the lug nuts can loosen slightly and in the worst case the wheel can drop off.
I friend of mine works at a tire shop and they change thousands of tires annually and every now and then they have a customer who neglected re-tightening and had a wheel drop off. It’s especially important to re-torque lug nuts if you have aluminum rims.
You can do the re-tightening with the same torque wrench and same settings as in step 6. If you don’t have a torque wrench then use your lug wrench to make sure the nuts are tight.
Usually I put the hub caps back only at this stage because seeing the wheels without the hub caps reminds me that I still need to re-tighten the nuts.